Archive
Configuring Splunk Universal Forwarder on Forefront TMG 2010
Aggregating logged data from security devices such as the Forefront Threat Management Gateway (TMG) 2010 firewall is a top priority for many security engineers. Forefront TMG and its predecessor, ISA Server, have always lacked an integrated facility to forward logged data to an external event management system. Often the administrator will have to devise an elaborate process that consists of batch files or scripts that collect firewall and web proxy logs and copy them to another location where they can be consumed. In the past I’ve demonstrated how third-party utilities can convert firewall log data to the syslog format as well.
Splunk is one of the more popular log management systems in use today, and to make it easier to get Forefront TMG log data in to Splunk we can use the Splunk Universal Forwarder. The Universal Forwarder is a utility that installs on the Forefront TMG firewall and monitors the folder containing W3C formatted text log files. The Universal Forwarder has a small footprint and consumes few resources, making it the ideal method to collect Forefront TMG log data and deliver it to the Splunk indexing server for analysis and archiving. The Splunk Universal Forwarder can be downloaded here.
Configuring Forefront TMG 2010
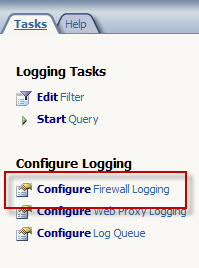
Before installing the Universal Forwarder, the Forefront TMG firewall must be configured to log to text file format. To change the log file format, open the Forefront TMG management console and highlight the Logs & Reports node in the navigation tree, select the Logging tab in the center console window, and then click Configure Firewall Logging in the Tasks pane on the right.
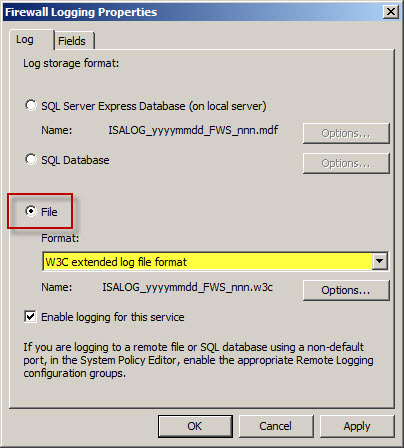
Select the option to log to File and choose the W3C extended log file format from the drop down box below. Repeat these steps to configure web proxy logging.
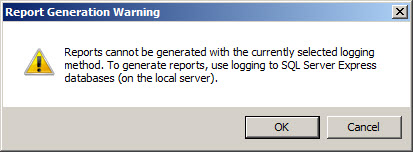
When the option to log to text file format is chosen, native Forefront TMG reports cannot be generated and access to historical log data in the Forefront TMG management console is no longer possible. Clicking Ok will generate the following warning message:
Reports cannot be generated with the currently selected logging
method. To generate reports, use logging to SQL Server Express
databases (on the local server).
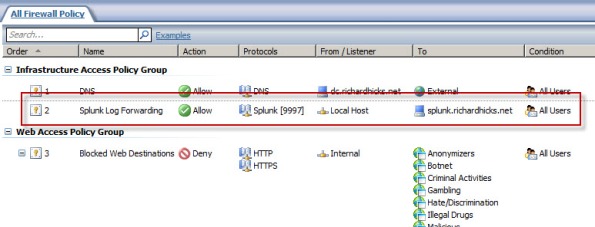
An access rule must be created to allow the Splunk Universal Forwarder to communicate with the Splunk indexing server. The source will be the local host network, the destination will be the Splunk indexing server, and the protocol will be TCP 9997 (outbound), which is the default port used by the Splunk Universal Forwarder.
Configuring Splunk Universal Forwarder
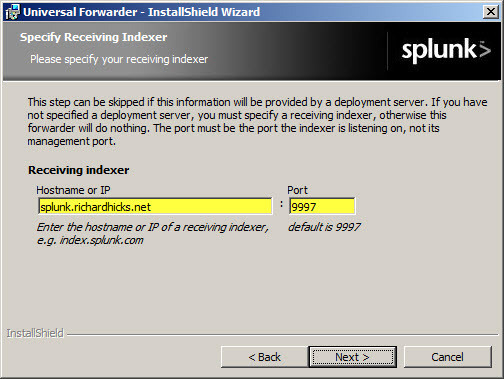
Next, install the Splunk Universal Forwarder on the Forefront TMG firewall. When prompted, enter the hostname, FQDN, or IP address of your indexing server and specify a TCP port to use (the default is TCP port 9997).
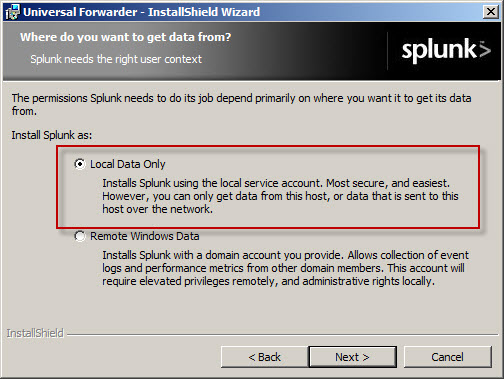
Select the option to forward Local Data Only.
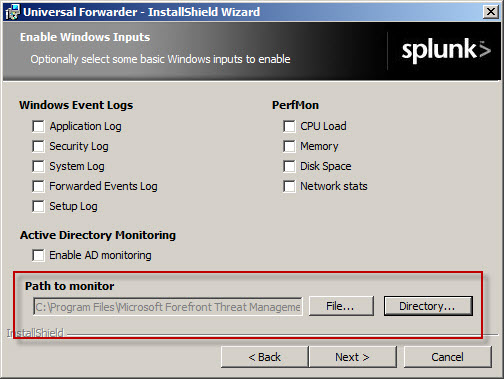
The Forefront TMG firewall will create new text log files each day and store them in the specified log files folder. Specify a Path to monitor by clicking Directory… and selecting C:\Program Files\Microsoft Forefront Threat Management Gateway\Logs (or the path where your log files are stored, if different from the default).
Configure Splunk Indexing Server
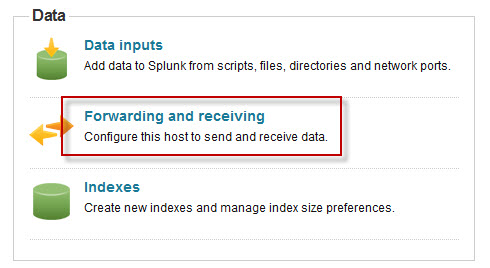
Once the installation is complete, open the Splunk Manager and click Forwarding and receiving.
Click the Add new link next to Configure receiving.
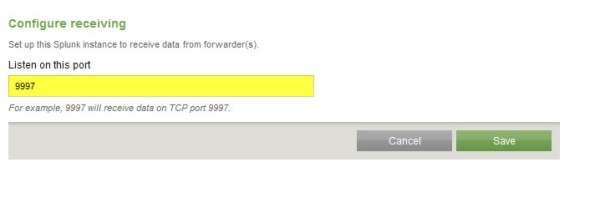
Configure the indexing server to Listen on this port and enter 9997.
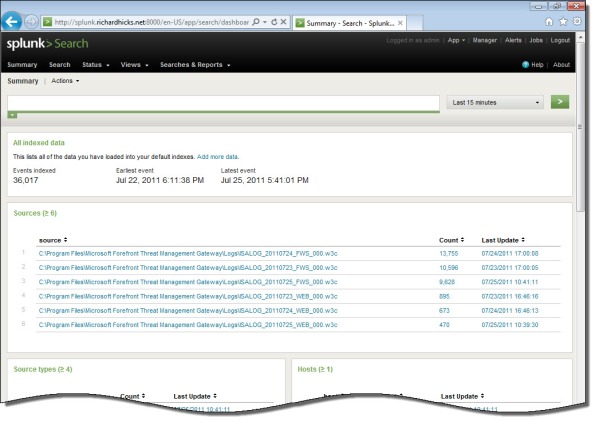
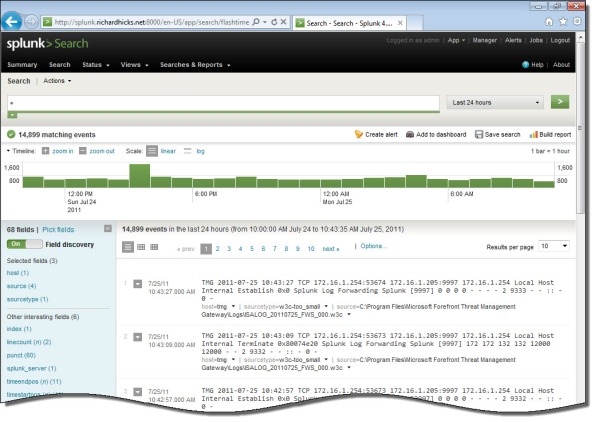
Once you’ve configured Splunk to receive data from the forwarder, Forefront TMG firewall and web proxy log data should appear on the indexing server.
Integrating Websense Web Security and Web Filter v7.6 with Forefront TMG 2010
For customers currently running Microsoft ISA Server 2004 or 2006 with integrated Websense Web Security or Web Filter, the options for migrating to Forefront Threat Management Gateway (TMG) 2010 have historically been limited. Until recently, Websense provided only limited support for integrating with Forefront TMG. However, beginning with the release of Websense Web Security/Web Filter v7.6, Websense now provides full support for integrating with Forefront TMG 2010 running on the latest Windows Server 2008 R2 operating system.
Integrating Websense Web Security/Web Filter with Forefront TMG is accomplished by installing the Websense filtering plug-in on the TMG firewall. The plug-in will communicate with external Websense components to provide URL filtering capabilities. Before installing the Websense filtering plug-in on the TMG firewall, install the Websense infrastructure and Web Security/Web Filter components (policy server, policy broker, filtering service, etc.) on a separate system.
Note: This post is intended to provide installation and configuration tips for firewall administrators who wish to integrate Websense Web Security/Web Filter v7.6 with Forefront TMG 2010. It is not meant to be a comprehensive Websense installation guide. For more information on installing and configuring Websense Web Security/Web Filter v7.6, please refer to the Websense Deployment and Installation Center documentation provided by Websense.
Policy/Filtering Server
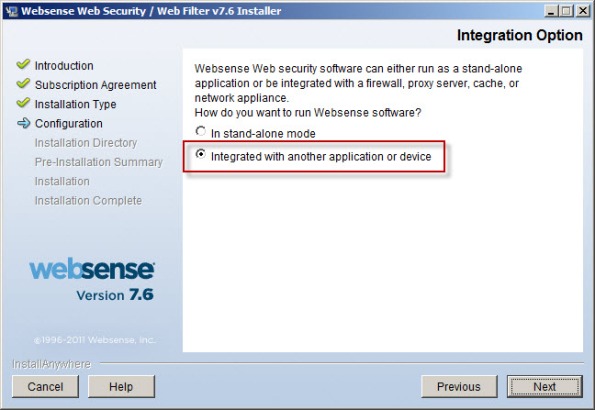
When installing the Websense Web Security/Web Filter components, be sure to select the option to integrate with another application or device.
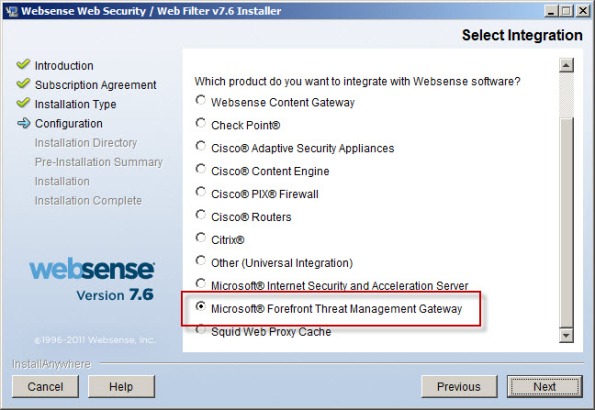
Scroll down and select Microsoft Forefront Threat Management Gateway.
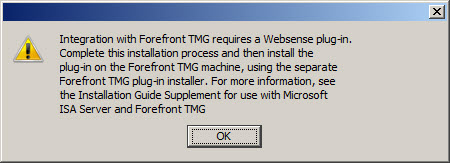
The installer will remind you that integrating with Forefront TMG requires a separate Websense plug-in to be installed on the TMG firewall.
Integration with Forefront TMG requires a Websense plug-in.
Complete this installation process and then install the
plug-in on the Forefront TMG machine, using the separate
Forefront TMG plug-in installer. For more information, see
the Installation Guide Supplement for use with Microsoft
ISA Server and Forefront TMG.
Filtering Plug-In
Note: The filtering plug-in for Forefront TMG 2010 is available as a separate download apart from the Websense Web Security/Web Filter v7.6 installer. It can be downloaded after logging in to my.websense.com.
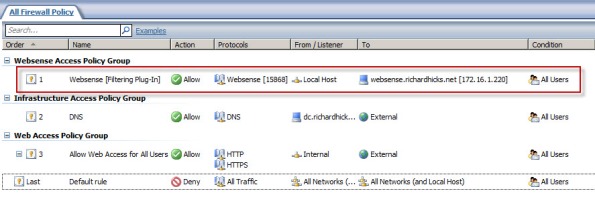
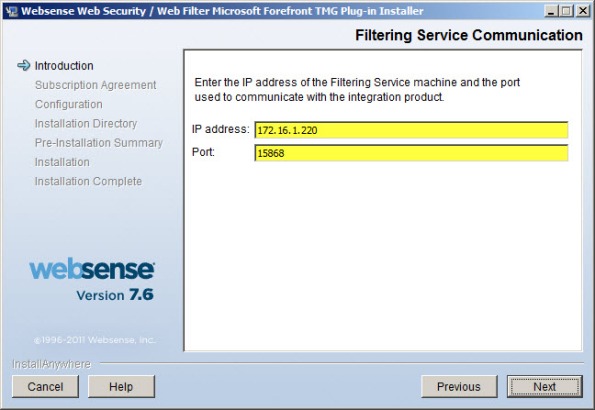
An access rule is required to allow the filtering plug-in to communicate with the Websense filtering service. Before installing the plug-in, create a rule on the Forefront TMG firewall allowing the local host network to communicate with the Websense policy/filtering server on TCP port 15868.
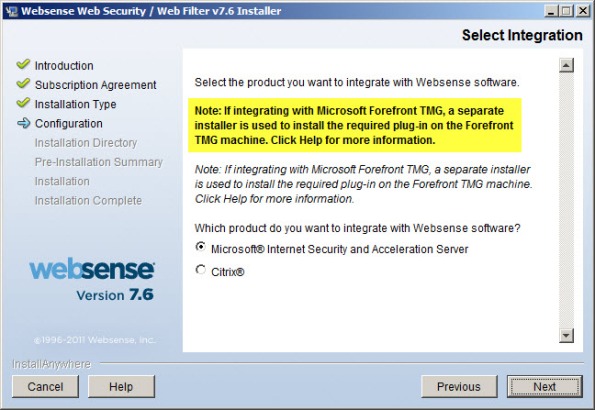
If you attempt to use the Websense Web Security/Web Filter v7.6 installer to install the filtering plug-in on the Forefront TMG fireall, you will only see the option to integrate with Microsoft ISA Server. If you continue anyway, the installation wizard will prompt with the following reminder:
Note: If integrating with Microsoft Forefront TMG, a separate
installer is used to install the required plug-in on the Forefront
TMG machine. Click Help for more information.
If you proceed, the installation wizard will stop and generate the following error message:
Setup cannot detect Microsoft Internet Security and
Acceleration Server installed on this machine. The ISAPI
Filter plug-in must be installed on a machine running
Microsoft Internet Security and Acceleration Server.

Once you have downloaded the Websense filtering plug-in for Forefront TMG, installation is simple and straightforward. Run the installation wizard and provide the IP address of the Websense policy/filtering server and accept the default port.
If the Websense policy/filtering server is not reachable or unavailable you will receive the following error message:
Filtering Service not found. Make sure the Filtering
Service is running, or specify a valid address.

Verify that you have specified the correct IP address for the policy/filtering server, that it is online and reachable, and that your access rule is configured correctly.
During the plug-in installation process it is necessary to stop the Forefront TMG firewall service. Remember that stopping the Forefront TMG firewall service will place the firewall in lockdown mode, preventing normal Internet access. You can stop the firewall service by using the Services MMC, or you can simply open an elevated command prompt and issue the following command:
net stop fwsrv
After the plug-in has been installed successfully you can restart the firewall service by issuing the following command:
net start fwsrv
For Forefront TMG 2010 Enterprise arrays, the Websense Web Security/Web Filter plug-in must be installed on each array member. Once you’ve completed the installation of the Websense filtering plug-in you should now be able to create, apply, and enforce URL filtering policies using the Websense management console.
Additional Notes
Don’t forget to ensure complete filtering coverage for Forefront TMG SecureNAT and Firewall clients by creating the ignore.txt file in C:\Windows\System32 that includes the hostname of the TMG firewall in UPPERCASE. For enterprise arrays this must be completed on each array member.
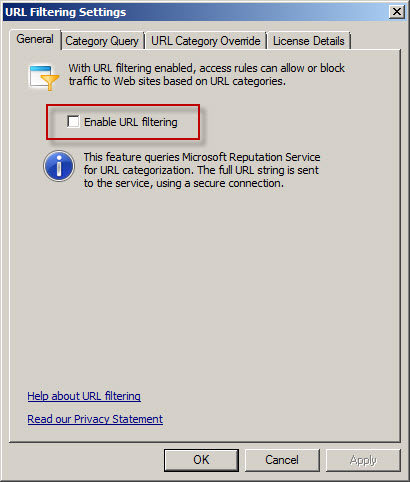
Another important point to remember is that the native Forefront TMG URL filtering must be disabled with integrated Websense Web Security/Web Filter v7.6 to prevent unexpected behavior. You can disable TMG URL filtering by highlighting the Web Access Policy node in the navigation tree, then clicking the Configure URL filtering link in the Tasks pane and unchecking the option to Enable URL filtering.
Virus/malware scanning, Network Inspection System (NIS), and HTTPS inspection are all compatible with Websense Web Security/Web filter v7.6, and having these features enabled is highly recommended to provide the most complete protection.
If you have to uninstall the Websense filtering plug-in for any reason, be sure to use the Add/Remove programs control panel applet. Removing the filter manually will cause problems for the Websense policy and filtering server. Do not remove the filter manually or reset your appliance image/VM snapshot without uninstalling the plug-in first to avoid these issues.
